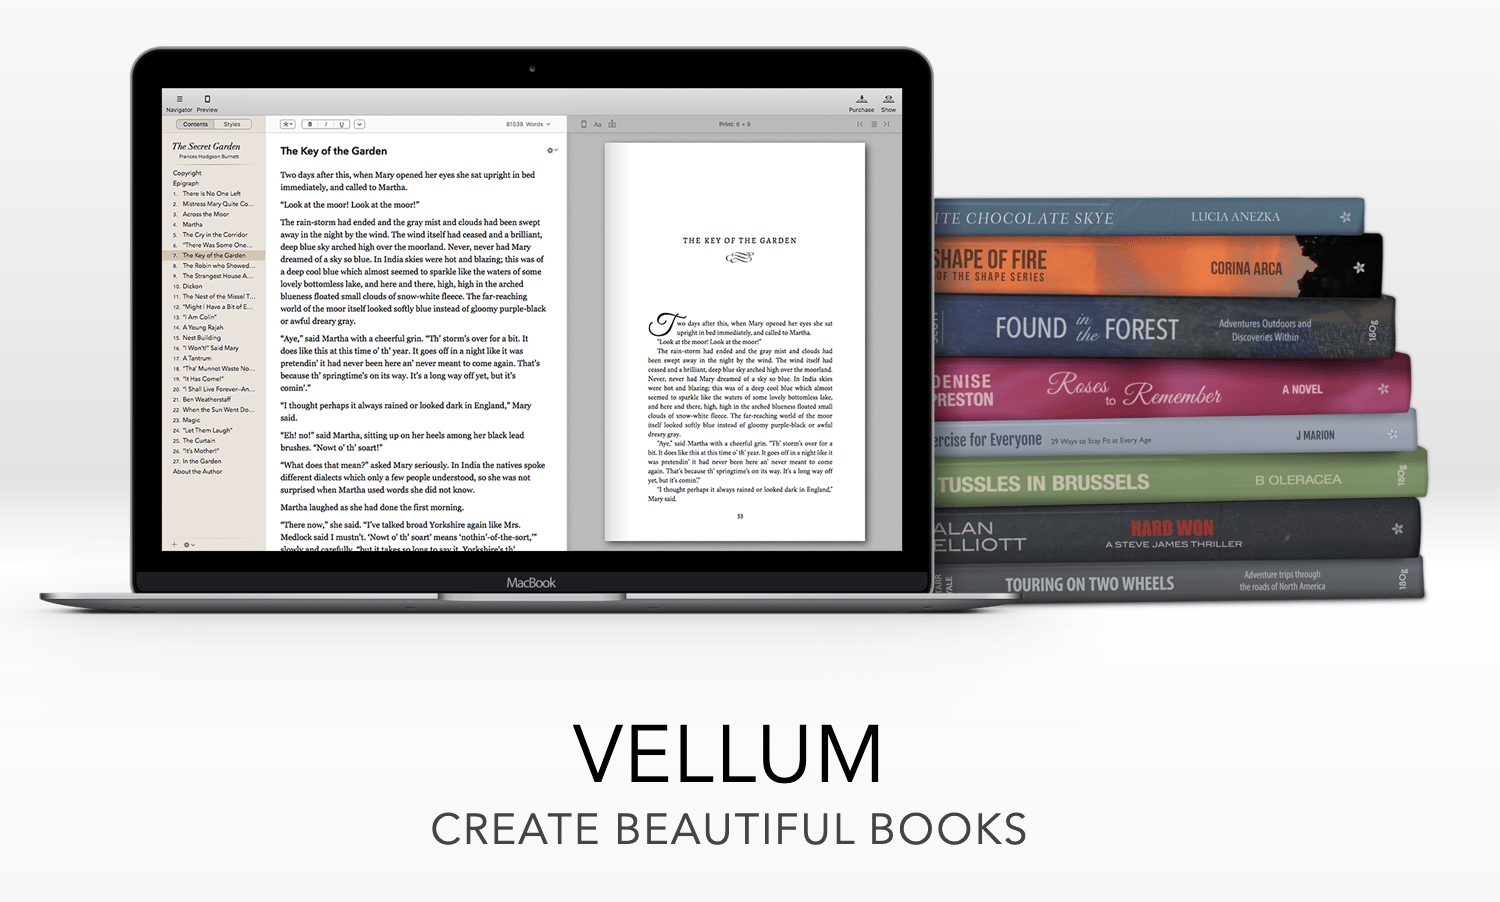
What is it?
Simply put, Vellum is an interior book layout software that offers authors a high-end formatting experience without the price or the learning curve of more complex options.
Whether it is a long-running series that benefits from a cohesive look, a short that you want to write, edit, and publish quickly, or a multi-book set you need to keep organized, there are few pieces of software that can get you up and running as quickly or beautifully as Vellum.
While there are options that are less expensive, Vellum condenses setting up metadata, e-book file encoding for your different outlets, and adjusting for different screen sizes and print (for both the paper and hardback if you have the Press Edition) down to filling a few boxes.
Before we begin:
Vellum is only available for the Apple/Mac operating system with no plans to expand to Windows or any iOS (sorry Windows peeps).
Vellum only allows you to upload a .docx file, so if you’re using another file format, I recommend:
- Removing as much of the bold, italics, and underlined formatting from your manuscript. Vellum will bring those things over beautifully, but it may also conflict with some of your detailing choices.
- Vellum will create a title page and table of contents for you, so make sure that you remove them from your manuscript.
- Keep the chapter breaks in as Vellum will pick those up and create chapters for you as well.
- Making a copy of your work (always have backups).
- Create a new folder where your Vellum work resides (either in the same folder as the main manuscript or in a space exclusively for the eBook file).
- Save a copy of your manuscript in your new folder:
- Word [File> Save As..]
- Google Docs [File> Download> Microsoft Word(.docx)]
You ready?
Let’s format a book!
When you first open and update Vellum, you will be met with this screen. On the left, the title card with the version number, an in-software tutorial and the import button. On the right, you will see the list of titles you’ve formatted before.
Notice the purple rectangle? That is a book that doesn’t have a cover assigned to it. You can upload the cover now or wait until later.
Once you’re ready, click the [Import Word File...], and it will load into your workspace.
Now that we are here, let’s take a look at a few things.
Notice that the manuscript is in an editable space on the left and what it looks like on the reader of your choice on the right. You can make corrections, use ‘Bold,’ ‘Italics,’ and ‘Underline’ from the menu above, and you can also see where the chapters are listed.
Click on the chapter headings on the right side and read through the manuscript to confirm that all the prose is there. (This rarely happens due to the software, but there’s always a non-zero chance that the wrong manuscript was loaded.)
While you’re confirming that the manuscript is complete, make sure that the chapters are ending when you want them to. If you find that there are two chapters under a single heading in Vellum, you fix that by:
- Clicking on the chapter heading on the right and confirm that you are in the correct chapter. Highlight and copy (do not cut) the desired passage.
- Click the ‘+’ sign at the very bottom on the page next under the chapter headings.
- This will create a new chapter under the chapter you have highlighted, so make sure you’re highlighting the correct chapter. Notice that the chapter will be numbered according to its location as well.
- Another way to add a chapter (or many other elements like, blurbs, acknowledgements, etc,):
- Click on the ‘Settings’ gear at the bottom of the page next to the ‘+’ sign. A menu will appear and the top option is to add a new chapter.
- If you scroll down to ‘Add Element,’ a list of the available elements will appear. They have different features, but will function the same as chapters.
So the manuscript is there and looks good?
Now we go and save the file.
Saving is straightforward [File > Save...]. The first time you save the file, you will get a menu, and you can save your file to the folder you’ve created.
Congratulations! You have created your first Vellum file. Let’s turn it into an ebook.


